I had a couple of old hoodies that were in good condition but I just don't wear anymore. I didn't really want to get rid of them so I thought I'd try making pillows out of them. This isn't really a 'tutorial', as I only took a few pics of the process of making these, but I'll file it under here anyway...isn't this one cute!

They were really easy to do actually (aside from my silly mistakes, but we'll discuss that later) - and I pretty much just wung it (I know, it's not a word, but I'm usin' it anyway!).
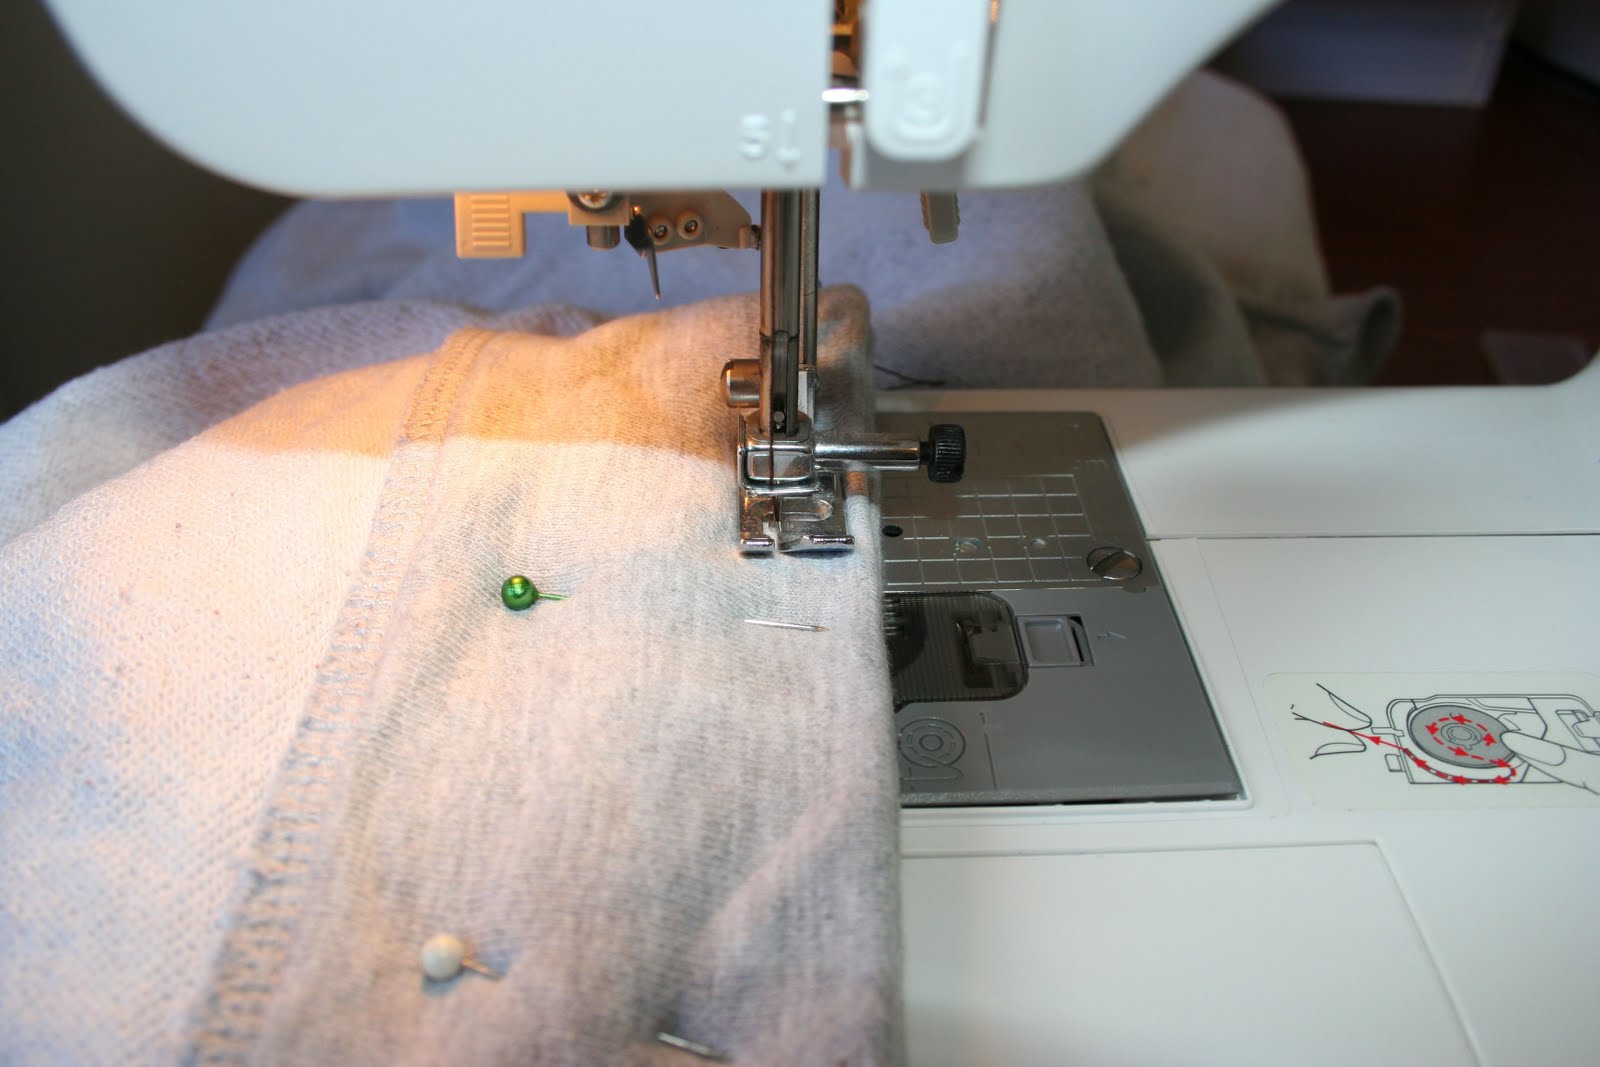
There are only a few pics of the 'making' process - I'll try to explain what I did as best as I can...
First I turned the hoody inside out and pinned the sleeve holes at the seams. I had grand ideas for the sleeves - part of that later discussion about mistakes!

I also pinned the bottom hem closed, but left an opening in the middle.
Next I pinned the neck, and this was the second of the mistakes.

I realized (before sewing thank goodness!) that then the hood wouldn't be able to be attached if I sewed it this way. Sooo, I repinned to allow the hood to stay - next mistake, but again, we'll talk about it later.

I then sewed up all these seams, with the exception of the opening in the bottom.


I trimmed off the sleeves and then flipped the hoody so it was right side out, thru the bottom opening. And this is where I stopped taking pics. When I turned the hoody out, I had sewn up part of the logo into the neck seam. I ended up pulling out the stitches and just sewing a topstitch to close up the neck hole while it was right side out - that worked fine. This took a bit of time though, so by the time I had that fixed and actually had a pillow to stuff, I didn't want to do anything with those sleeves, so I just stuffed! After stuffing the pillow I sewed up the hole in the bottom by hand.
I wish I had kept those sleeves though, because now I feel like attaching them so that they are on the front of the pillow - especially because the way I sewed the sleeves makes this pillow look a little funky, but whatever, it still works! Go Habs!


For the San Diego pillow pictured at the beginning of this post, I took a different approach - and sorry, no pics.
I layed the hoody on the table right side out and logo facing up. I had a long piece of cardboard that I laid on the sweater, giving me a straight line. I first lined it up along one side of the sweater and used a rotary cutter to cut from the bottom hem of the hoody all the way up to the shoulder, making sure I had left all of the logo and hood intact. I did the same thing up the other side of the sweater. This gave me a hood with two rectangles hanging from it. I squared up the bottom hem, using the cardboard and rotary cutter.
Next, I turned the pieces so the hoody was inside out. I pinned the bottom hem, leaving an opening, and pinned up the two sides, and also pinned the neck hole. Again, I pinned so that the hood would still be attached.
I sewed up all the seams, then turned the hoody right side out, stuffed and sewed up the bottom hole by hand - here is another pic of the finished product (I like this one best, I have to say - and it was easier!).


Here are a couple of pillow covers I did too - just squares - VERY easy!


Got any homemade pillow ideas? Please share!
- Marsha -
0 comments:
Post a Comment