Friday, May 20, 2011

Homemade Hoody Pillows (and others)

I had a couple of old hoodies that were in good condition but I just don't wear anymore.  I didn't really want to get rid of them so I thought I'd try making pillows out of them.  This isn't really a 'tutorial', as I only took a few pics of the process of making these, but I'll file it under here anyway...isn't this one cute!


They were really easy to do actually (aside from my silly mistakes, but we'll discuss that later) - and I pretty much just wung it (I know, it's not a word, but I'm usin' it anyway!).

There are only a few pics of the 'making' process - I'll try to explain what I did as best as I can...

First I turned the hoody inside out and pinned the sleeve holes at the seams.  I had grand ideas for the sleeves - part of that later discussion about mistakes! 


I also pinned the bottom hem closed, but left an opening in the middle.

Next I pinned the neck, and this was the second of the mistakes.


I realized (before sewing thank goodness!) that then the hood wouldn't be able to be attached if I sewed it this way.  Sooo, I repinned to allow the hood to stay - next mistake, but again, we'll talk about it later.


I then sewed up all these seams, with the exception of the opening in the bottom. 
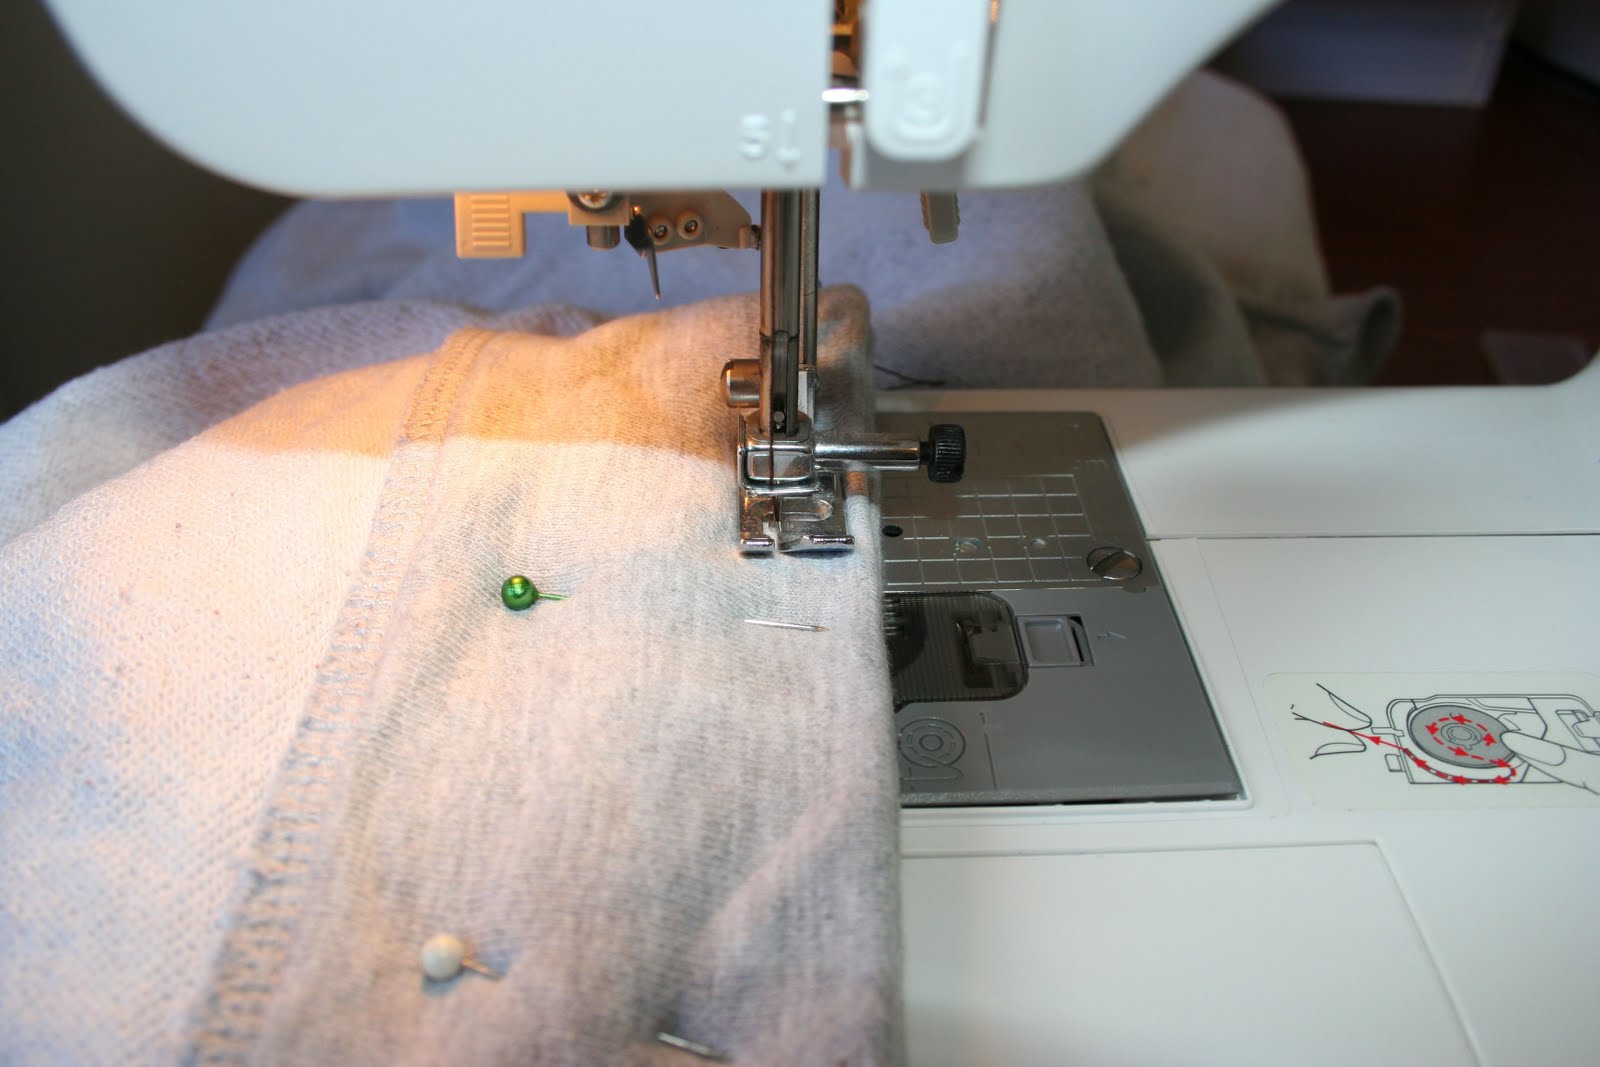


I trimmed off the sleeves and then flipped the hoody so it was right side out, thru the bottom opening.  And this is where I stopped taking pics.  When I turned the hoody out, I had sewn up part of the logo into the neck seam.  I ended up pulling out the stitches and just sewing a topstitch to close up the neck hole while it was right side out - that worked fine.  This took a bit of time though, so by the time I had that fixed and actually had a pillow to stuff, I didn't want to do anything with those sleeves, so I just stuffed!  After stuffing the pillow I sewed up the hole in the bottom by hand.

I wish I had kept those sleeves though, because now I feel like attaching them so that they are on the front of the pillow - especially because the way I sewed the sleeves makes this pillow look a little funky, but whatever, it still works!  Go Habs!


For the San Diego pillow pictured at the beginning of this post, I took a different approach - and sorry, no pics.

I layed the hoody on the table right side out and logo facing up.  I had a long piece of cardboard that I laid on the sweater, giving me a straight line.  I first lined it up along one side of the sweater and used a rotary cutter to cut from the bottom hem of the hoody all the way up to the shoulder, making sure I had left all of the logo and hood intact.  I did the same thing up the other side of the sweater.  This gave me a hood with two rectangles hanging from it.  I squared up the bottom hem, using the cardboard and rotary cutter.  

Next, I turned the pieces so the hoody was inside out.  I pinned the bottom hem, leaving an opening, and pinned up the two sides, and also pinned the neck hole.  Again, I pinned so that the hood would still be attached.  

I sewed up all the seams, then turned the hoody right side out, stuffed and sewed up the bottom hole by hand - here is another pic of the finished product (I like this one best, I have to say - and it was easier!).


Here are a couple of pillow covers I did too - just squares - VERY easy!


Got any homemade pillow ideas?  Please share!

- Marsha -


Food Friendly Friday - Week 4

Yes!!  I planned my menu, AND - I'm here to blog about it.  It may not be a big thing to you (and that's perfectly ok), but it's a good thing for me :)  

This past week flew by, I can't believe it's Friday already!  I was able to figure out before bed every night what we were going to eat the next day, so things weren't too hectic food-wise.  

One night we had Subway, but had a good excuse...Our province has been hit by devastating wildfires, with whole communities and towns being evacuated from their homes.  Specifically, many homes in the town of Slave Lake have been destroyed.  374 homes actually, according to CBC News, and 52 damaged.  

You might ask 'what does that have to do with you, you are 4 hours away'.  Well, we had a garage full of household items that were destined for a garage sale.  We had dishes, sheets, towels, backpacks, toys, hair care items, a microwave, and a bed with a brand new mattress.  Some people from work got together and arranged for a local drop off location for donations so that a trip to the evacuation areas could be made, and since these were all perfectly good items, we decided to donate them instead of doing the garage sale thing.  So, that night we grabbed Subway so we could organize, correctly pack and get the items to the drop-off location - we deserved the break - and it's somewhat healthy :)  The main point being though that the Slave Lake victims really need those items, so I'm really pleased we were able to help in some capacity.  My heart goes out to the families whose lives have been affected by this devastating event.

If you are at all interested in helping the Slave Lake victims, I found a good list of options on the Global Edmonton site.  This was dated May 19, so the specifics items required may have changed, but it also includes options for cash donations.  And thanks so much.

Now, on to next week's menu.  Nothing too fancy going on here at all.  I'm still not quite used to having lost the extra couple hours after work, so supper has to be simple :)  We won't be home for supper Saturday night (Kid Rock - here we come!), so I'll start with...

Sunday (no kids) - Snack food - (nachos and homemade salsa, variety of homemade pickles, veggies and dip).

Holiday Monday (no kids) - Shephard's Pie - fried hamburger with a can of mushroom soup layered in a pan, with corn and mashed potatoes over top, bake - so easy but we haven't had this in so long!

Tuesday (no kids) - Corn & Ham Chowder - I got a free issue of Food Network Magazine and this looked pretty tasty (and I still have ham in the freezer from Easter)...I'll let you know how it turns out.

Whatever Wednesday (no kids) - two big meals in a row with only two of us here means lots of leftovers!

Thursday (kids) - Slow Cooker Roast Beef - with McCain Purely Potatoes (have you tried these? - they are great in a pinch!), carrots and gravy.

Friday (kids) - Roast Beef Sandwiches - gotta use up that leftover roast beef!  With veggies and dip too.

And that's it!  Nothing too crazy.  I wouldn't mind getting some baking done at some point too - but that's asking for a lot!

Have a great weekend!

- Marsha - 


Monday, May 16, 2011

Save $$$ Shopping Online

I wanted to post this really quick just 'cause I was thinking about it...

I am a huge online shopper.  I have a bad habit of staying up late, surfing the net on my Ipad, and making impulse buys.  Most of the time I'm not disappointed though, so it works out!

There is one site I usually go to first though, especially if I know what I'm looking to buy.  It's called Great Canadian Rebates.  For all my fellow Canadians who shop online, if you haven't checked this site out yet - you should!

How it works is you sign in to the GCR site, then go to any of the stores they have available (I don't know the exact count - well over 300 though).  By clicking to the store through the GCR site, you are then eligible to receive the discount that particular store offers by shopping thru GCR.  The rebate is not applied at the check out - you receive the money in your GCR account.  After a period of time (there is payout schedule on the site) this money will be deposited in your Paypal account.  It may seem like a lot of work, but you really just need to have a Paypal account, and then sign up for GCR.  Easy!

There are a variety of stores to choose from, and the rebates range from 0 to 18% or higher.  Each store has it's own rebate amount.  Amazon.ca for example is a place you can shop, but you don't get a rebate really.  The info says you can get free shipping, but with Amazon you don't have to go thru GCR to get free shipping most of the time anyway.  I don't worry so much about going thru GCR when shopping there.  Sears.ca, however, does offer a rebate of 2%.  That may not seem like much, but it all adds up.  Another store I have shopped from thru GCR is SteveMadden.com - the rebate there is 8% - it helps in justifying buying $180 booties :)  I could go on and on with the list of stores I shopped at thru GCR - Dysoncanada.ca, BananaRepublic.ca, and even ebay.ca (which has a 2% rebate per winning bid by the way - sa-weet!).

Not all of the merchants are Canadian, but all offer shipping to Canada - and the dollar is better here right now so, it's really cheaper to shop American!

Anyway, I absolutely love a deal - and the $42 and change in my GCR account right now tells me a little does add up - that's only since March!  Hmm, maybe I do have a problem!

I'm not the PR gal for GCR, but, there is something in this for me if you sign up thru the link below.  If you sign up thru myself, I benefit from every rebate you receive from GCR for the next 2 years!  Isn't that something!  And, once you sign up, you get the same benefit for anyone you refer who signs up thru you (I don't benefit from them as well, only from you)!  And you don't have to do a thing except send your friends an email.  Once they sign up thru you they are linked to you automatically and GCR does all the figuring for you.  How easy is that?

If I don't have you convinced, below is an email suggestion I took right from the website that explains a little (do you see the part about where you get $2 in your GCR account when you sign up?).  It also has the referral link so you can sign up thru me.

Even if you don't want to sign up thru me, for whatever reason, it's still a good deal for all, so I had to share!


Greetings Friends,

You are invited to save!

I wanted to be one of the first to share with you a Canadian online shopping
website that pays you Cash Back Rebates on online purchases. The website is
called GreatCanadianRebates.ca.  Why not join us? Continue to shop online or
become an online shopper at many of your favourite merchants.  The expanding
list of merchants includes: Dell, Expedia, Chapters & Indigo, The Source
by Circuit City, Travelocity, The Apple Store and The Shopping Channel.
Savings and rebates are only a few clicks away.

GreatCanadianRebates.ca is extremely easy to use. To get started, register by
following the link below, shop as you currently do and your rebates will be
automatically credited to your Cash Back Rebate account.
GreatCanadianRebates.ca also has many great coupons, free shipping specials,
and sales directly from the stores.

As a bonus for registering GreatCanadianRebates.ca will give you a Toonie!
That's right, $2.00 will automatically be deposited into your account, just
for registering. GreatCanadianRebates.ca also has an incredible referral
program that will make you money. You will earn a 10% Referral Bonus on all
Cash Back Rebates earned by any new Member you refer.

Please register at:
http://www.GreatCanadianRebates.ca/register/118456/

Happy Shopping and Saving!
- Marsha -

Sunday, May 15, 2011

I love yard sales!

Spring has finally hit in our part of the world, and you can tell by the fact that yard sales are back!  I've always loved yard sales - I can remember going with my mom when I was young, and although in recent years I haven't gone that often, this year will be different!

With the new house must come new decor, right?!  And although I've been a shoppin' fool on EtsyEbay, and even Beyond The Rack as of late, yard sales have been a great place to score some good finds too!

Yesterday the man and I headed out pretty early (if you want to catch the good stuff you should go early - and go on Friday evenings if the sellers are hosting at that time - you'll for sure see the best stuff then) and we found 7 just by looking at the local board where everybody posts their items for sale and such.

Below is a pic of the treasures I scored!


The picture frames will eventually be spray painted white for a photo wall I'm inspiring to make.  

The Rod Stewart cassette set will hopefully become artwork, but I'm not sure how yet. 


 The glass pieces I think I will leave alone - I like all the colors just the way they are.


And the books.  It was actually Kev who pointed them out.  Good idea too because I think they make nice decorations.  I liked the color of the blue one and then read the title...'The Assassination of President Kennedy' - I might even read this one some day.


I liked the red color of this one, but it really was the title that made me get it...'The Cow Puncher' - on quick scan it said copyright 1918.  I probably won't read it, but a fun piece I thought!


And here is how some of the above pieces look now sitting on my mantle!


I hope you had a wonderful weekend - did you go to any yard sales?

- Marsha - 


Easy Peasy Homemade Coasters

I guarantee that if you google homemade tile coasters you will find instructions exactly as shown below somewhere, but since I took the trouble to take some pics of my experience making these, I'll just give you a little tutorial on how I did it - and it's super easy - and super cheap!

Gather the following supplies.


4" x 4" ceramic tiles (as many as you want) - I bought mine at the local hardware store for 37 cents each

fabric or paper squares slightly smaller than your tiles - I used fabric for these and then paper for a set I made for a friend

ModPodge

Krylon Transparent Indoor-Outdoor Sealer

Small paint brush or paint sponge - I used one of the blue handled flat brushes

Felt squares for the bottom of the coaster

Start off by giving the (clean) tile a coat of modpodge.


Then center your fabric or paper on the tile.  I used a ruler to smooth the fabric.


I let that dry for about 10 - 15 minutes, then I painted on another layer of modpodge, this time going over the fabric.


I gave each coaster 3 layers of modpodge, letting each coat dry for at least 15 minutes in between.

I let the last coat dry for 24 hours, then I sprayed each coaster with the transparent Krylon spray so that the coasters would be waterproof.  Sorry, no pics of the spraying, but I gave each coaster 4 coats of the Krylon spray, letting them dry only 1 minute between coats.  I let the last coat of Krylon dry for 1 hour before bringing them back in the house, where I left them for 24 hours before attaching the felt to the bottom.  I had self adhesive felt, but you could easily use a little craft glue to adhere regular felt, or even fleece.  

Here is the finished product!


For the set I made for a friend (again, sorry no pics), I painted the outside edges of each tile a dark purple and let that dry before I started the above steps.  I then used a lighter purple, patterned paper square, instead of fabric, in the center of the tile.

So, what do you think?  Easy and cheap right?!  Have you seen this somewhere else, and more importantly, have you made these too?  If so, please share!

 - Marsha -  
(I have got to get used to signing my blogs - even if I don't have a fancy font to use for it yet!  Forgive the inconsistency!)


Food Friendly Friday - Week 3 (NOT!)

I'm sorry that I didn't get to this this week, and not just for you (I don't have many followers actually - hint, hint if you are reading this!), but for myself also.  I know it's going to be tough on this household to not have a plan.

Here's the thing.  I started full time at work last week, and come Thursday, I just did not have the energy or motivation to plan - for anything.  No menu, no grocery list - nothing.  I was just beat, let me tell you.

It wasn't really the hours at work that were hard, it was the not getting to bed (or to sleep, rather) that was the issue.  I would go to bed on time (10 - 10:30pm), and tired as I was I just couldn't fall asleep.  I would lay there thinking of what I would have to do at work in the morning, or of which DIY project I wanted to tackle next and how I would accomplish it.  My mind just isn't used to shutting down until around 11:30 or midnight really.

I used to work 8:30am to 3pm Monday to Friday with no lunch break - I just ate while I worked.  Now I work 7:30am to 4:30pm with a 1 hour lunch.  I do enjoy the break - it's great to clear your mind that's for sure, especially since I started full time because I've taken on a bit more work (temporarily) on a daily basis.  The downside is that it is about a 10 minute drive to and from work, and with the cost of gas right now ($1.27.9/L), it really hits the pocket book.  I will be opting to stay at work during the lunch hour for 2 - 3 days per week due to mainly this fact, and the extra mileage it puts on my little Equinox.  I'll just pack a lunch like I used to, and then go for walks now that the weather is nice.  I can use my new snowshoes when the nasty winter hits again.

Anyway, I'll try to be better at the menu plans - as I said, this helps me too.  This week should be interesting - I'll try to at least plan one meal a night in advance and let you know how I fare next Friday when I post the next week's menu - I promise!

Finishing Touches

I'm way behind on showing the last of the cabinet maker's fine work - heck, I'm way behind on blogging period!  (Notice there was no 'Food Friendly Friday' this past week??  Will explain later...)  Without further ado, here it is...

The TV stand.


The mantle...I love the simplicity of it :)


The back porch...so much more practical.


As you can see, this trim still needs to be painted the same color as the walls.  There is some going around the ledge leading to the basement as well that I forgot to take pics of :(


That's it!  Well, actually, ok, so, there is one or two small things.

1.  In the quote there was two shelves I wanted built for my scrapbook space.  I'm not sure if they were forgotten or were scrapped (no pun intended) because of the add-ons we ended up having.  I have to talk to Alex about it still...

2.  I asked him to build me a big mirror.  One that just sits on the floor and leans on the wall.  A big rectangle basically, framed the same as our bathroom mirrors are essentially.  This is seperate from our house though...this was just me as a customer going to him to have him build me one thing.  We'll see what happens with that.

It's such a relief to have this space come together so nicely.  Our choices were good ones and we are very pleased with ourselves!  It's also been fun to be able to start to decorate...I've been a shopping, yard saling, DIYing fool - but it's been so enjoyable!  And to top it off, our house is clean (fine print states this applies only to the upstairs portion of this house)!  There is a space for everything and it's so easy to maintain - I absolutely love it!!!!  Ok, enough of that..

On to other things...

I'm going to try to do a few posts today to get caught up on some stuff...if you continue on, bless you and thank you!